It is made of two separate pieces: a top and bottom with an elasticized waist. However, with some skills I believe this could be made into a multi-sized dress pattern. I think one could change the top and taper it into the bottom or vice versa if the knitter has a dress in mind but needs a different fit (my eventual goal ;) ). The gauge is 18x20 with needles needed to obtain it. It is made of ribbon, which is certainly unique, and provides detailed instructions on how to knit with such a foreign material. Note it is not made of a sport yarn (yay!) so for a change a vintage pattern might not take you eons to complete.
Thursday, February 15, 2018
Lumberjackie Cropped Sweater Knitting Pattern
The Lumberjackie sweater is a fitted, cropped sweater. The tapered sides are a relief from boxy sweaters and features a wide waist band to accentuate your figure. Partially based on a 1940s pattern, this top also features a straight needle collar. The waist is patterned to be approximately 25% smaller than the bust (example: bust 36, waist 27).
Sizes range from 36 (40, 44, 48, 52)* inches in the bust with size 7 and 8 needles and a gauge of 16x22. You will need approximately 1024 (1280, 1280, 1536, 1536) yards of worsted weight yarn.
1. Cast on 52 (60, 66, 72, 78) on size 7 needle
2. Purl from wrong side 1 row.
3. Work a 2x2 rib (k2, p2) for 3 inches.
4. With size 8 needle, begin a stockinette with an increase 1 st on each side: K 1, M1L, K to last 3 sts, M1R, K1. This will prevent a curved side seam.
5. Stockinette 3/4 an inch and inc. 1 st on each side as in step 4.
Repeat this step 8 (8, 9, 10, 11) more times: 72 (80, 88, 96, 104) sts
6. Stockinette until piece measures 11 (11.5, 12, 12.5, 13) inches [28 (29, 30, 31.75, 33) cm]
Shape Armholes
1: Bind off 5 (6, 8, 9, 11) sts at the beginning of the next 2 rows: 62 (68, 72, 78, 82) sts.
2. On next right side row, make a left-leaning decrease: k1, ssk, knit to last 3 sts and make a right-leaning decrease by k2tog, k1—60 (66, 70, 76, 80) sts.
3. Purl 1 row. Repeat last 2 rows 4 (5, 7, 8, 10) more times—52 (56, 56, 60, 60) sts.
4. Stockinette until armholes measure 7 (7½, 8, 8½, 9)” [18 (19, 20.5, 21.5, 23) cm]
5. Cast off 13 (15, 15, 17, 17) sts at the beginning of the next two rows.
6. Make a 1x1 rib for 1 inch with remaining 26 sts. Cast off.
Front
1. Work same as back until armholes measure 4½ (5, 5½, 6, 6½)” [11.5 (12.5, 14, 15, 16.5) cm]
2. On next right side row, k20 (22, 22, 24, 24) for left front, cast off 12 sts, k20 (22, 22, 24, 24) for right front.
Work both shoulder pieces at the same time with separate balls of yarn.
3. Purl both fronts.
4: Knit to last 3 sts of first shoulder piece and make a right-leaning decrease with k2tog, k1. On 2nd front, make a left-leaning decrease with k1, ssk, k to end of row 19 (21, 21, 23, 23) sts for each shoulder piece. Repeat last 2 steps 5 more times—14 (16, 16, 18, 18) sts. Work even in Stockinette st on both fronts until armholes measure same as back armholes.
Bind off.
Sleeves (make 2)
1. With size 7 needles, cast on 32 (32, 36, 36, 40) sts.
2. Purl 1 row from wrong side. Work in 2x2 Rib until piece measures about 2.5” (6.35 cm).
3. With size 8 needles, stockinette to 3 inches.
4. On next row, increase 1 st on each side by K1, M1L, K to last 3 sts, M1R, K1, stockinette 1.5 (1.25, 1.25, 1.125, 1.125) inches. Repeat this step 9 (11, 11, 13, 13) more times: 52 (56, 60, 64, 68) sts.
5. Stockinette until piece measures about 18 (18, 18½, 19, 19)” [45.5 (45.5, 47, 48.5, 48.5) cm]
Shape Cap
Row 1 (right side): Bind off 5 (6, 8, 9, 11) sts, knit to end of row—47 (50, 52, 55, 57) sts.
Row 2: Bind off 5 (6, 8, 9, 11) sts, purl to end of row—42 (44, 44, 46, 46) sts.
Row 3 (decrease row – right side): K1, ssk, knit to last 3 sts, k2tog, k1—40 (42, 42, 44, 44) sts.
Row 4: Purl. Repeat last 2 rows 13 (14, 15, 17, 18) more times—14 (14, 12, 10, 8) sts.
Bind off.
Neckband
1. With right side facing size 8 needle, pick up 14 sts down left front neck edge, 12 at neck front, and 14 sts up right front neck edge— 40 sts.
2. Make a 1x1 rib for 1 inch.
3. Bind off loosely.
Sew shoulder seams, sleeve caps into armholes, side seams, and weave in ends.
*If you consider yourself to have very broad shoulders or have a very full bust, consider casting on the required stitches for one size up and increase to your normal bust size. The waist is narrow, and you want to make sure you can pull it over!
Top Edgier Knitting Patterns (Free!)
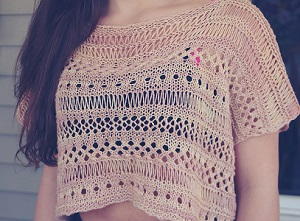
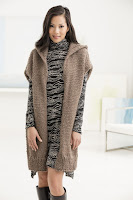
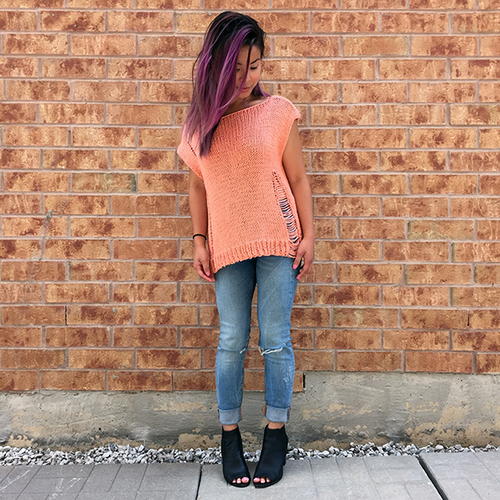
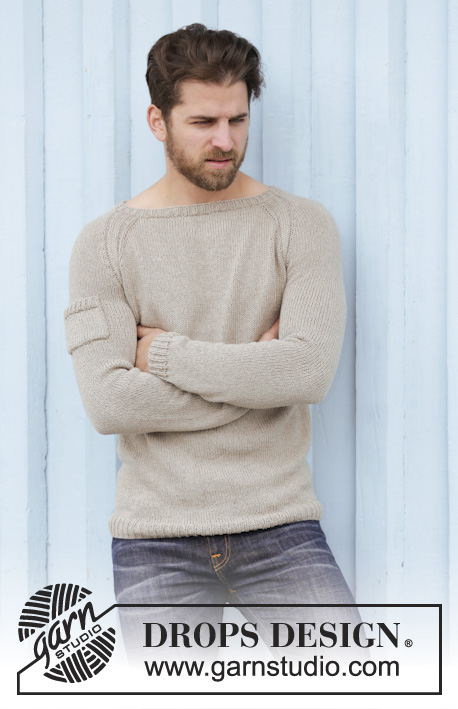
One down-side to sewing with non-stretch fabrics is some of them are not as comfortable as the cheap knits we've grown to love. Here are (free!) fashionable knits you can make and more importantly live in and enjoy. Remember you decide the yarn, color, and size. These can be styled many different ways. Some may require an email submission or free account creation.
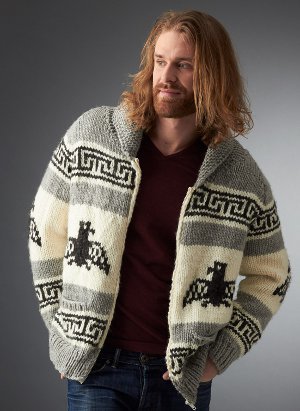
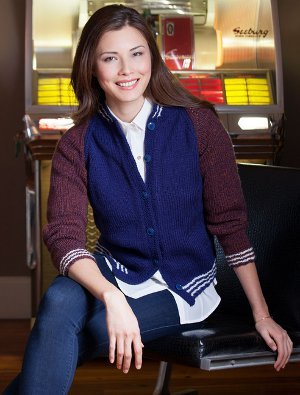
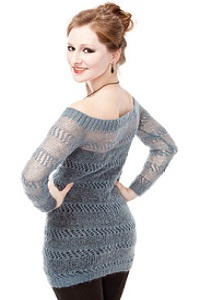
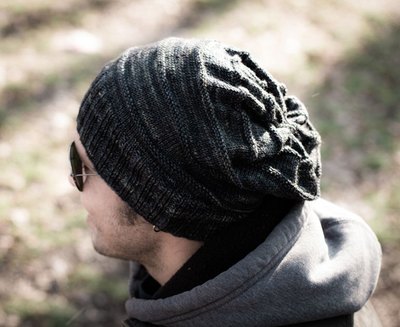
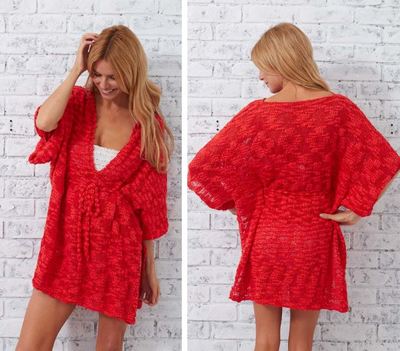
Darling Weekend Beach Cover-Up

Aberdeen
Quick and Flattering Cardi

Pullover and Top
Limestone Sweater

Aberdeen
Quick and Flattering Cardi

Pullover and Top
Limestone Sweater


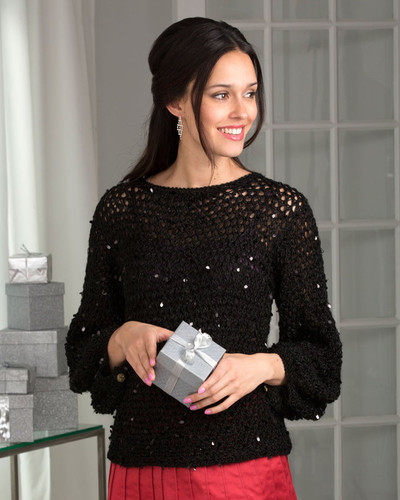
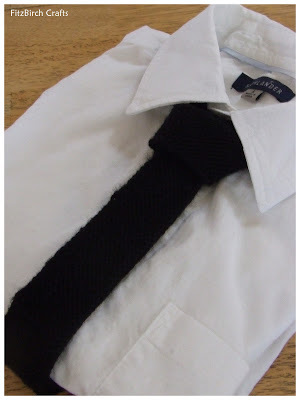
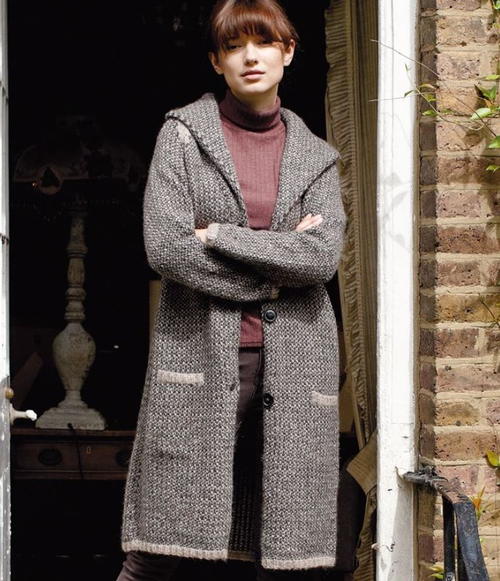
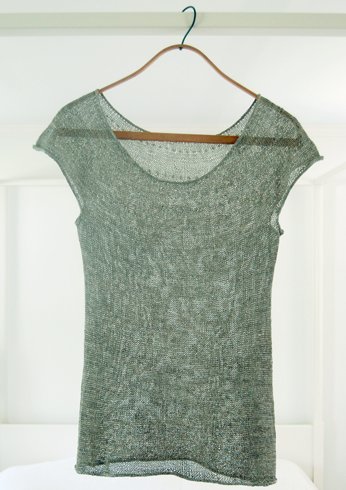


Big Box Knit Pullover
So Cosy Leggings

Deep V-Neck Sweater
What have been your favorite "edgy" knitting patterns? I like to gift them because people tend to be surprised, "You knit that?"
Subscribe to:
Posts (Atom)


